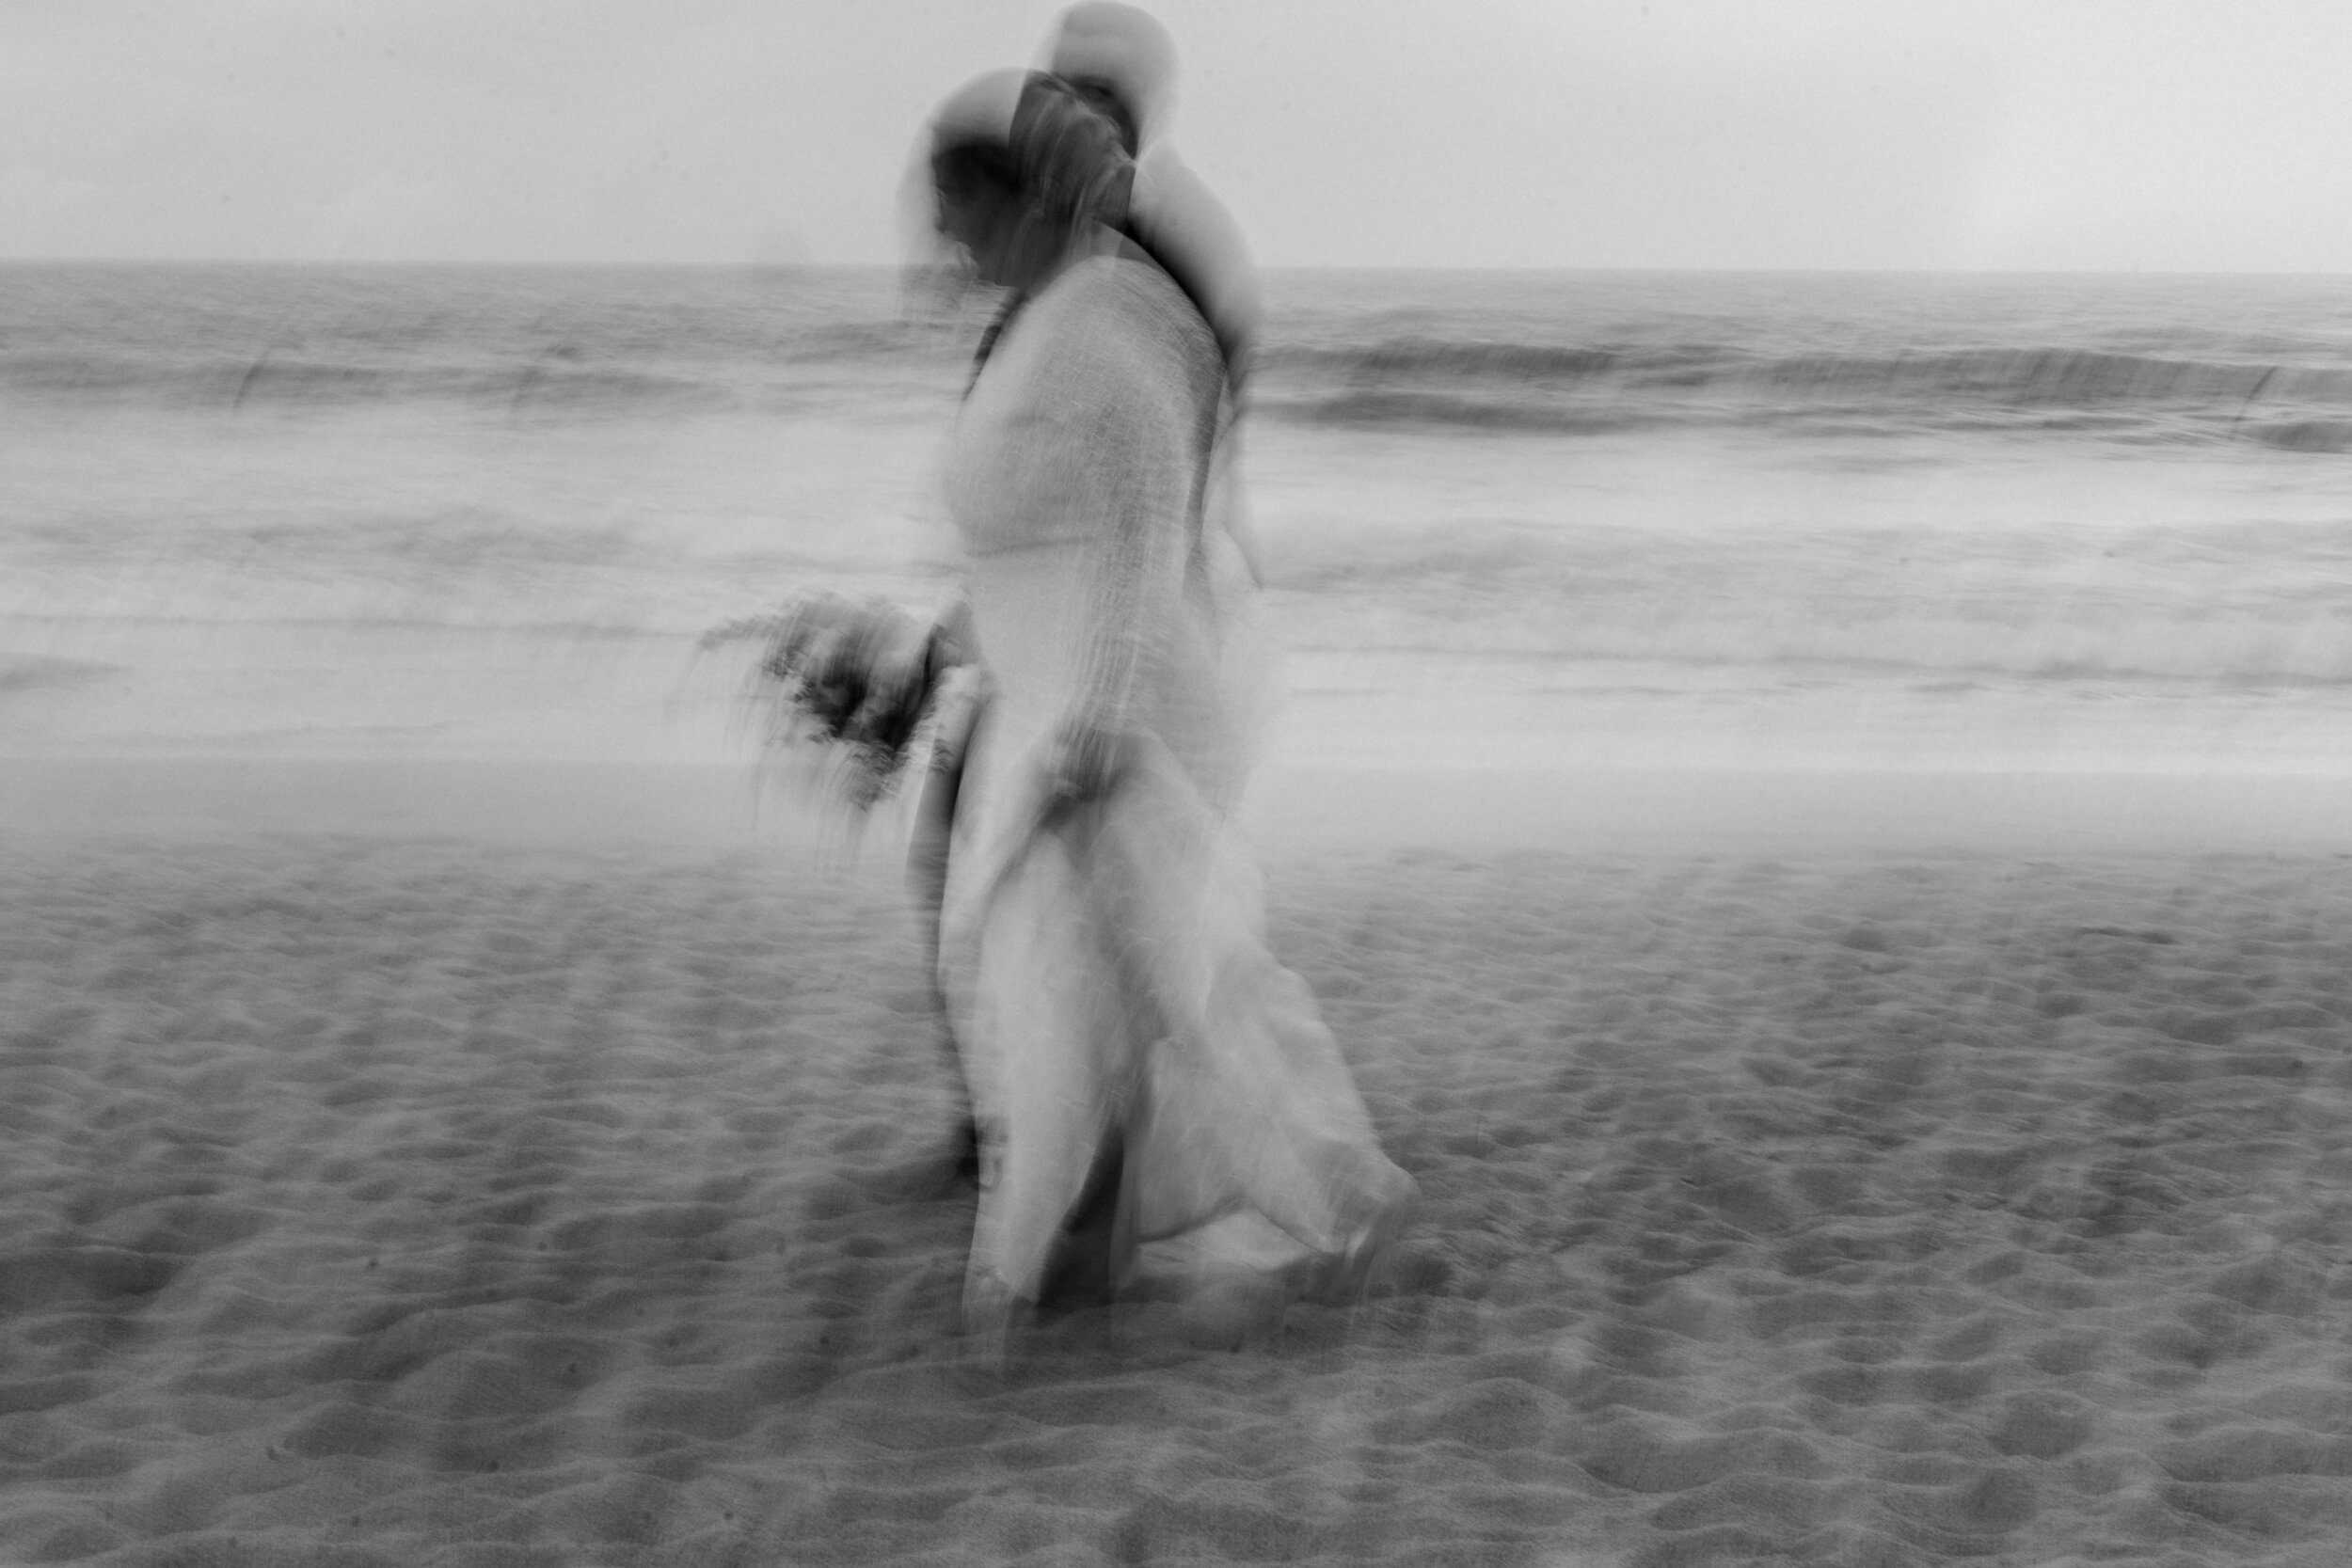
Using a slow shutter speed to create movement & emotion
One of my passions as a photographer is memory keeping and documenting my own family life on an ongoing basis. Having a camera on hand all the time means we have an incredible tool to capture our own memories and preserve the little stories that unfold daily in our homes. Combine these images with an understanding of light and composition and you can create some pretty magical images! Today I’m sharing how I use a slow shutter speed intentionally to create movement and emotion in my images. // Words & Images by Bec Zacher. All images edited with Story Keeper Presets.
USING A SLOW SHUTTER SPEED INTENTIONALLY
When we learn photography, often we are taught about how to get clean crisp images and nail focus… but once you know the ‘so-called’ rules, breaking them opens up a whole new world of opportunity and creativity!
You may have accidentally missed focus on an image or shot an image with your shutter speed too slow and that image ended up in the trash. Have you ever thought about intentionally using a slow shutter to create a certain mood and movement in your images?
You will often see landscape and street photographers use this technique and it looks incredible in this style of work, but it can create some pretty dreamy and nostalgic shots in portrait style photography as well!
When I started using a slow shutter on purpose, I was so drawn to the emotion and feeling that it created in my images that I often use it in many personal and client sessions if I feel a specific moment calls for it.
So how do you create these whimsical images intentionally without the whole thing looking like you have no idea what you’re doing?
Slow shutter settings
First things first, you need to be using a camera that allows you to shoot in manual mode so you have full control over your settings.
When you are taking a photo of a moving subject, you generally always want the shutter speed to be 1/250 and higher so that you nail the focus and keep things crisp.
Slowing down your shutter on the other hand, anywhere from 30 - 150 will give you that dreamy motion blur at varying degrees depending on how much your subject is moving.
I generally set my shutter speed between 30 - 50 when I am doing these shots and adjust it as I go depending on how much motion I want to create.
The Exposure Triangle
If you’ve been in this game for a little while, you will know about the exposure triangle and how shutter speed, aperture and ISO works together.
When you are using a super slow shutter, your image will likely be very overexposed so you will need to set the ISO as low as you can (100 is good) and stop down the aperture anywhere from f8 - f16 or higher.
Have fun playing with this technique! If you share some images online, make sure to tag #iamthestorykeeper so we can all check them out or come and post them in the Facebook group.
Here is an example of using a slow shutter intentionally. I was taking some photos of my girl in the arvo sun as she was dancing around the lounge room. After I had taken a few sharp images with my shutter speed 1/250 and higher, I decided to play around with a slow shutter to capture her movement and create more feeling to the images. The second two images are shot at 1/50 shutter speed and a much higher / narrower aperture as the room was extremely bright.
The settings for the image below were - 1/30 shutter speed, aperture f10, ISO 300, 35mm lens on a Canon R6. I was standing very still and mum and dad were also still and the kids were running in circles around them creating the motion. I will often use this technique and have one object or person remain still whist the motion is happening around them.
Here is a more dramatic version of a slow shutter image that looks a little more like a painting as the main subjects are moving through the frame. The settings for these images were - 1/20 shutter speed, aperture f22, ISO 200, 55mm lens, Sony A73 camera body.
SHARE YOUR WORK
Come on over and join the Story Keeper community and share your images.
If you share your images on Instagram and use the hashtag #storykeeperchallenge and make sure you check out the #storykeeperchallenge hashtag on Instagram for some amazing inspiration!
Questions? + Join the Story Keeper Community
I really hope that you have found this helpful and gleaned some tips for yourself that you can start implementing today! I know you might have questions so come join the Story Keeper Private Facebook group where we all chat and share tips together and make sure you come join the Story Keeper Instagram community as well.


